![]()
You can think of Agentic as RapidAPI for LLM tools.
All tools listed on Agentic's marketplace have been carefully hand curated and are regularly tested with a comprehensive set of integration tests and evals. Agentic aims for quality, not quantity.
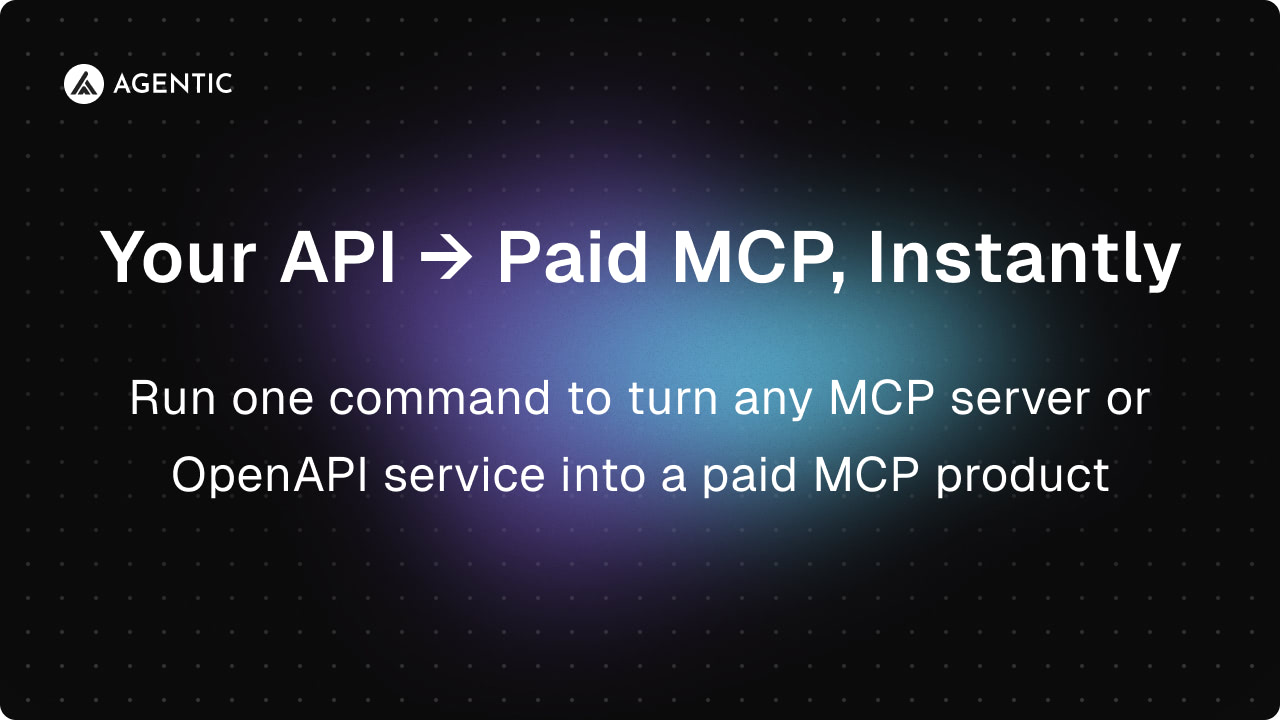
On the flip side, Agentic makes it easy to publish your own MCP servers & OpenAPI services to Agentic's MCP Gateway and instantly start charging for agentic tool use.
- Highly Curated Tools: All publicly listed Agentic tools are manually vetted to keep an extremely high quality bar.
- Agentic UX: All Agentic tools have been hand-crafted specifically for LLM tool use. We call this Agentic UX, and it's at the heart of why Agentic tools work better for LLM & MCP use cases than legacy APIs.
- First-Class MCP Support: On both the publishing and consumption sides, Agentic supports MCP as a truly first-class primitive – not an afterthought.
- World-Class TypeScript DX: Agentic is written in TS and strives for a Vercel-like DX, including one-line integrations with every major TS LLM SDK.
- Stripe Billing: Agentic uses Stripe for billing, and most tools are usage-based, so you'll only pay for what you (and your agents) actually use.
- Blazing Fast MCP Gateway: Agentic's MCP gateway is powered by Cloudflare's global edge network. Tools come with customizable caching and rate-limits, so you can REST assured that your agents will always have a fast and reliable experience.
- Semver: All Agentic tools are versioned using semver, so you can choose how to handle breaking changes.
- MCP Marketplace - Using tools
- MCP Publishing - Publishing your own tools
Agentic has first-class support for every major TS LLM SDK, including:
- Learn more about publishing with Agentic
- Publish an existing MCP server with Agentic
- Publish an existing OpenAPI service with Agentic
Anyone can publish their own live MCP products with Agentic, but you'll need to submit your MCP to us before it can be listed on the main Agentic marketplace.
Agentic is proudly 100% open source.
Interested in contributing or building Agentic from scratch? See contributing.md.
To enable project/team/user installation status and sync/reconnect flows, configure a GitHub App and wire these env vars.
Add these in apps/api/.env (see apps/api/.env.example):
GITHUB_APP_SLUG— App slug used to generate install links (https://github.com/apps/<slug>/installations/new).GITHUB_APP_ID— Numeric GitHub App ID.GITHUB_APP_CLIENT_ID— GitHub App client ID.GITHUB_APP_CLIENT_SECRET— GitHub App client secret.GITHUB_APP_WEBHOOK_SECRET— Secret used to verify GitHub webhooks.
Use your API and web origins as configured in env:
- User authorization callback URL:
${AGENTIC_WEB_BASE_URL}/auth/github/success
- Setup URL (optional, for post-install redirects):
${AGENTIC_WEB_BASE_URL}/app
Set the webhook URL to:
${AGENTIC_API_BASE_URL}/v1/webhooks/github
If you proxy API traffic through another domain, use that public URL instead.
Minimum recommended permissions:
- Repository permissions:
- Contents: Read-only
- Metadata: Read-only
- Organization permissions:
- Members: Read-only (if org-scoped installations are supported)
If you need write operations later, expand permissions intentionally and use the UI “Update permissions” link to prompt re-approval.
Subscribe to at least:
installationinstallation_repositoriesinstallation_target
These events are enough to keep installation status and repository scope in sync.